
Last updated November 15, 2026
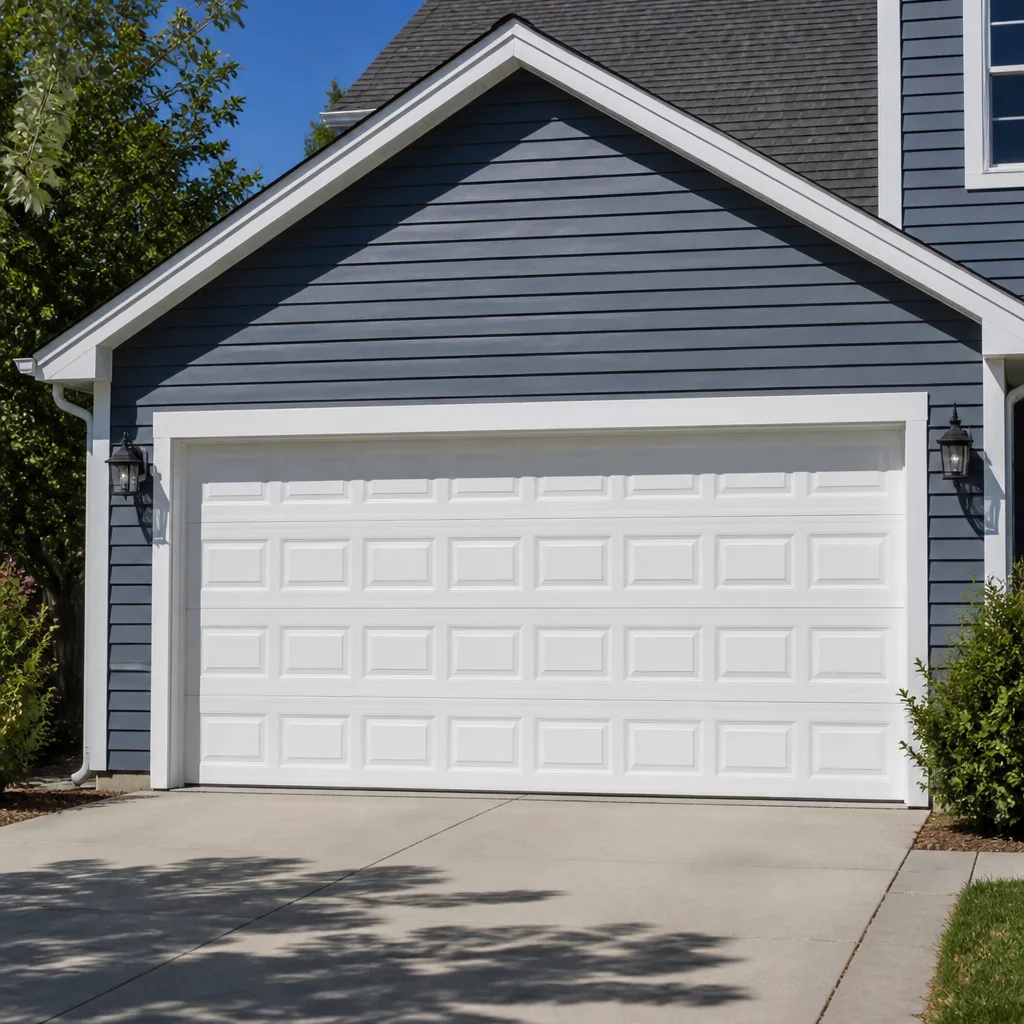 Raised-panel steel
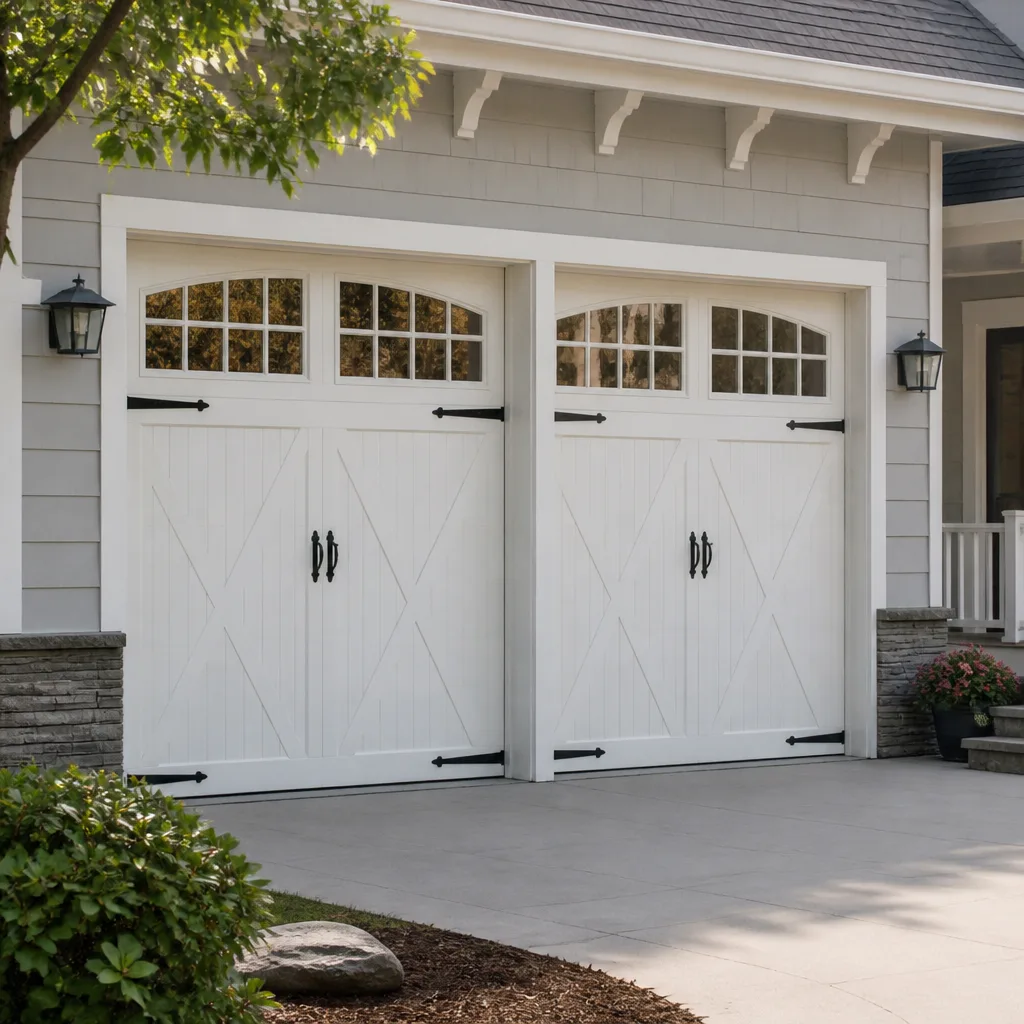 Carriage house
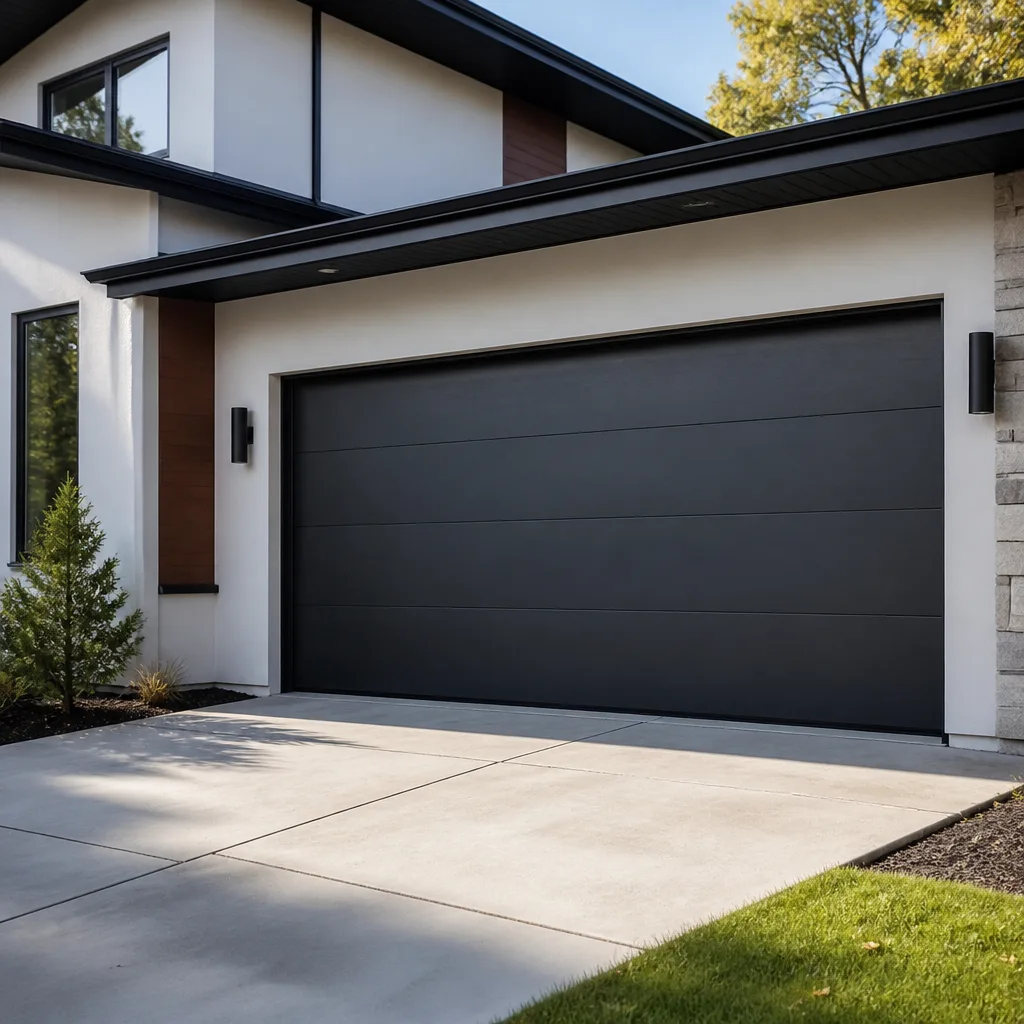 Modern flush
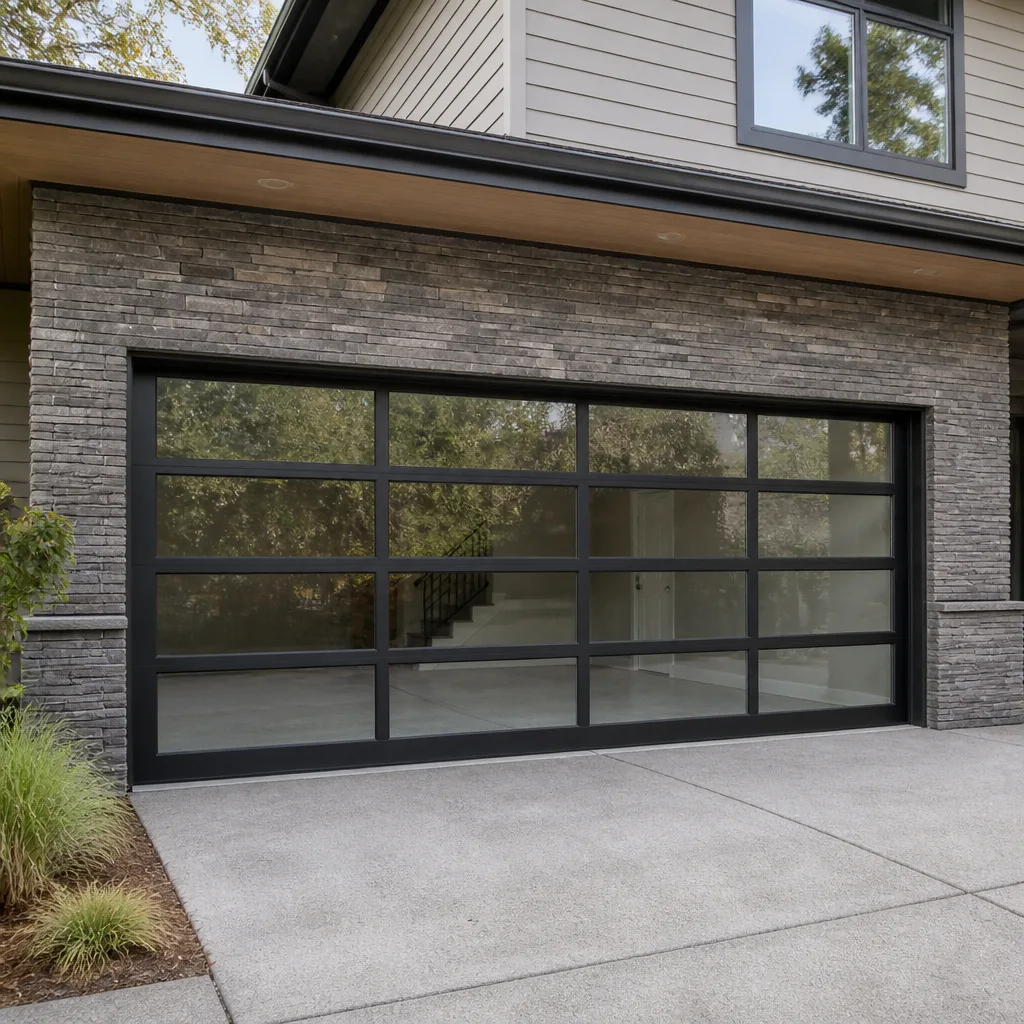 Full-view glass
 LiftMaster openers
 Chamberlain openers
Full 25-point door and opener safety check with every visit - springs, cables, rollers, tracks, and your LiftMaster or Chamberlain opener included
You get a price before we start. It does not change when the pro arrives.
Get your free estimateDIY vs Professional Garage Door: The Goodyear Homeowner’s Decision Guide
Most homeowners in Goodyear who ask whether to fix their garage door themselves are asking the wrong question. The real question isn’t whether you’re handy. It’s whether the specific task in front of you has a real consequence for one mistake. Torsion springs store enough energy to break a wrist or take out an eye when released incorrectly, and the tutorials that make it look easy are filmed by people who’ve done it dozens of times. This guide draws a precise line between what’s genuinely safe to handle yourself and what isn’t, so you stop overspending on simple maintenance and stop underestimating the jobs that can hurt you.
Quick Answer
Some garage door work is safe for a careful homeowner: lubricating moving parts, replacing weatherstripping, aligning photo-eye sensors, and cleaning tracks. Torsion spring replacement, cable work, and structural header repairs are not DIY tasks under any circumstances, because a single stored-energy release or a dropped door can cause severe injury. Everything in between, like opener installs and panel alignment, depends on your comfort level, your warranty, and whether your Goodyear HOA requires licensed contractor documentation. When in doubt, the task belongs to a professional.
Styles & brands we work with
- Raised-panel steel
- Carriage house
- Modern flush
- Full-view glass
- LiftMaster openers
- Chamberlain openers
Table of Contents
- The Task Matrix: What’s Safe and What Isn’t
- How Desert Heat Changes the DIY Calculation in Goodyear
- The Hidden DIY Cost Trap Nobody Warns You About
- Goodyear HOA Rules and DIY Door Replacements
- Opener Installs, Warranty, and the Certified Dealer Question
- Safe DIY Tasks You Can Do This Weekend
- What a Correction Call Actually Looks Like
- DIY vs Professional: A Real Cost Comparison
The Task Matrix: What’s Safe and What Isn’t
The DIY-versus-pro decision gets much simpler when you sort garage door tasks into three buckets: safe, doable-with-caution, and absolutely not. Most homeowners treat garage door maintenance like a single category, then either avoid all of it or attempt all of it. Neither approach serves you well. Here’s the breakdown we use when advising Goodyear homeowners on their own doors.
Category 1: Safe for DIY
- Lubricating hinges, rollers, and springs with a garage-door-specific lubricant, twice a year
- Replacing bottom weatherstripping at the base of the door, which is a friction-fit or screw-on job on most doors
- Aligning photo-eye safety sensors when the door reverses unexpectedly or won’t close
- Cleaning and vacuuming tracks to remove dust and grit, especially in dry desert conditions
- Tightening visible bolts on hinges and brackets that have vibrated loose over time
- Testing the auto-reverse function by placing a 2×4 flat on the ground under the door and checking that the door reverses on contact
- Checking the balance of the door by disconnecting the opener and lifting the door manually to see if it stays at the halfway point
Category 2: Doable With Caution, Depends on the Homeowner
- Installing a new opener on a door that’s already balanced and functioning, if the manufacturer’s warranty doesn’t require certified installation
- Replacing a single panel on a multi-panel door when the exact replacement panel is available
- Adjusting the opener’s force limit and travel limits through the control panel on the motor unit
- Replacing rollers when the door is fully in the up position and secured in the track
Category 3: Absolutely Not DIY
- Torsion spring replacement. The torsion spring is mounted on a steel shaft above the door and holds the full weight of the door under tension. There is no safe way to work with a wound torsion spring without proper winding bars, knowledge of the tension required, and experience with the release.
- Extension spring replacement for the same reasons. Extension springs store the same energy in a different geometry, and they fail with even less warning.
- Cable replacement or adjustment. Cables are under the same tension as springs and can whip when they snap. They’re routed through specific pullies and brackets, and a misrouted cable will fail catastrophically.
- Structural header repairs. If the door frame, header, or track brackets are pulling away from the wall, the underlying issue is structural and needs to be evaluated by someone who does this work regularly.
- Any work on a door that has fallen or is hanging out of its tracks. A door that’s off track can drop without warning. Secure the door and call for garage door repair.
The line between category 1 and category 3 is where most injuries happen. Homeowners who are already comfortable with basic maintenance feel emboldened to try a spring swap. That’s the wrong zone to stretch into.
How Desert Heat Changes the DIY Calculation in Goodyear
Goodyear summers regularly push past 110°F, and a closed garage with a west-facing wall can hit 130°F or hotter inside. That heat doesn’t just make the work uncomfortable. It changes the risk profile of the entire job and the way the door and its hardware behave.
Steel expands in the heat. Door panels that fit well in January can bind or warp slightly by July. If you’re attempting a panel alignment or roller replacement when the door is heat-loaded, your measurements and adjustments may not hold once the door cools off. Homeowners who spend a Saturday in June adjusting a panel often find it misaligned again by the next morning because the ambient temperature has dropped by 40 degrees. The easier fix is to wait until the door is at room temperature and evaluate it then, or better yet, let a technician who works in these conditions adjust it with that thermal expansion accounted for.
Heat also affects the mechanics directly. Grease thins out. Rollers bind. Cables can stretch slightly. Door openers that were set at a certain force limit in milder weather may suddenly need more torque to lift the door, and the opener will either strain the motor or trip the safety reverse. This is normal, and it’s one of the reasons we get more garage door opener repair calls in July and August than any other time of year.
The bigger concern for the DIY homeowner is personal safety in the heat. A garage over 110°F causes heat stress fast. Dizziness, poor judgment, and slowed reflexes are exactly the conditions in which people make mistakes – and mistakes with springs or cables are serious. No tutorial covers that. If the job is going to take more than 20 minutes, work early, drink water, and open both the garage door and any rear garage window or door to move air. If you feel lightheaded, stop. The spring will wait.
We also see good intentions go bad with lubrication in a hard summer. Some homeowners overspray lubricant in a hot garage, then the lubricant migrates onto the door panels and traps dust. Use a garage-door-specific silicone or lithium lubricant, apply it sparingly, and wipe up drips while the door is cool.
The Hidden DIY Cost Trap Nobody Warns You About
The math most homeowners run before a DIY job looks something like this: the part costs $60, and the professional charges $350, so I save $290 by doing it myself. The reality is rarely that clean, and the difference usually comes down to what happens two weeks later.
Most of the correction calls we handle in Goodyear fall into a few common patterns:
- Wrong part, close but not exact. The spring rate, wire gauge, or inner diameter was slightly off, and the door now strains the opener. The correct spring plus the opener wear can cost more than the job would have.
- Cable misrouted or not tensioned correctly. The door opens, then binds halfway the second week. The door has to come apart, tracks may have bent, and the repair now includes the original job plus correction.
- Panel installed off-center. The door hasn’t seated in the frame. The bottom rubber doesn’t seal, the opener strains, and the panel needs to be unbolted and reset. That’s more labor than a straight installation.
- Sensor misalignment after an opener install. The door won’t close reliably because the sensor was wired or aimed wrong. It’s a 10-minute fix in person and an hour of head-scratching for someone who hasn’t diagnosed it before.
- Spring wound too tight or too loose. The door either drops on its own or requires the opener to work much harder than it should. Either outcome shortens the opener’s life.
The pattern is that the second call costs more than the first call would have. If you flat-out can’t do the job, you’ve paid the part cost and still have to pay for someone else to fix it. That’s the case for having a professional handle anything past basic maintenance. One call, one invoice, and the work holds. If you do attempt a DIY task and it doesn’t feel right, stop before something binds. The cost of a clean fix from a professional is usually less than the cost of cleaning up a mistake.
Goodyear HOA Rules and DIY Door Replacements
Many Goodyear neighborhoods are governed by HOAs, and those HOAs generally care about exterior modifications to your home – including garage doors. The garage door is often the largest single face on the front of the house, and HOAs treat it as a visible feature that has to stay in line with the neighborhood’s appearance standard.
In practice, this means most Goodyear HOAs that manage exterior changes require an architectural approval before a door replacement. The forms usually ask for a copy of the door specification, the brand and color, sometimes a photo or rendering, and in many cases documented installation by a licensed contractor. This is one place where DIY becomes a compliance problem rather than just a safety one. A homeowner who installs a new door themselves often can’t produce the contractor documentation the HOA wants, even if the installation itself was done well. The work might still be an HOA violation.
If you’re replacing your door, the smart first step is to check your HOA’s architectural rules. Most publish them online, and the property manager can usually tell you within a few days what documentation they need. When the HOA requires licensed documentation, that means the install portion is no longer a DIY decision. It’s a contractor decision.
We see this most often in neighborhoods where the front elevation is heavily visible from the street and the HOA inspects annually. If your door is on the list of items the HOA wants corrected, that’s a different conversation than if you’re replacing it for your own preference, but either way, the documentation request will usually look the same. Get the answer from your HOA before you order the door, not after. A door that shows up and can’t be installed without a variance is an expensive tool in the driveway.
Opener Installs, Warranty, and the Certified Dealer Question
Opener installation is the gray zone where lots of homeowners get tripped up. The install itself isn’t dangerous in the way spring replacement is – no high-stored-energy component on a modern residential opener. But the warranty structure often is what decides the question.
Several major opener brands, including LiftMaster and Chamberlain, are commonly sold through professional channels and are sometimes only warrantied when installed by a qualified or certified dealer. Other brands like Genie and Craftsman are available at retail and their warranties vary by model. Before you buy the opener and start watching tutorials, read the warranty terms. If the manufacturer requires professional installation to preserve coverage, the savings from DIY are already gone. A $150 savings up front against a voided warranty is a bad trade.
Beyond warranty, opener installation has a few technical points that trip people up:
- Header bracket placement. The opener’s header bracket has to be centered and attached to solid framing. On many Goodyear homes, the garage header is stucco-over-frame or elsewhere not obvious, and a lag bolt into the wrong material won’t hold when the door lifts.
- Rail sizing and door weight. The opener’s lifting capacity has to be matched to the door. A door that’s heavier than expected will strain the motor over time. A door that’s much lighter than expected responds poorly to the force settings.
- Sensor wiring and alignment. The photo-eye sensors have to be aligned across the garage opening and wired to the opener. On newer smart openers, this wiring runs to the wall control and to the motor housing. One miswired lead and the door reverses on every close.
- Wall control and safety reverse. The wall control, remote pairing, and auto-reverse test all need to be checked. On myQ and other smart platforms, pairing the opener to the home network is a step that a first-timer often needs to redo.
- Balance test after install. The install isn’t finished until the door’s balance has been verified with the opener disconnected. If the door doesn’t hold its own balance, the opener is going to work much harder than it should.
We service openers from Craftsman to LiftMaster, including the smart-home-integrated platforms, and one of the most common calls we run is the “I installed it and it reverses on the close half the time” call. Usually it’s the sensors. Usually it’s a 15-minute fix once someone who does it every day looks at it.
Safe DIY Tasks You Can Do This Weekend
Not every garage door task needs a professional. These are the ones we actively encourage Goodyear homeowners to handle themselves, because doing them keeps the door safer, keeps the small problems from becoming large ones, and keeps your money in your pocket.
- Lubricate the moving parts. Every six months, apply a garage-door-specific silicone or lithium lubricant to the hinge pivot points, the roller bearings, and the spring coils. A single spray can lasts years. Do it when the door is closed and cool.
- Test the auto-reverse. Lay a 2×4 flat on the ground under the center of the door and press the close button. The door should reverse on contact. If it doesn’t, that’s a real safety issue – stop using the door and have it looked at.
- Test the balance. With the door fully closed and the opener disconnected, lift the door by hand halfway. A balanced door should stay put on its own. A door that drops or rises on its own is out of balance and needs adjustment by a technician.
- Check the photo-eye sensors. Walk across the sensor beam while the door is closing. The door should reverse. If it doesn’t, wipe the sensor lenses and check that the LED indicator lights are steady. If they’re flickering or dark, clean the lenses and check the alignment.
- Replace the bottom seal. The bottom weatherstripping is usually held in a track or screwed into the door’s bottom retainer. Measure it carefully – the standard sizes are 2″, 3″, and 4″, and the wrong size won’t seal. Buy a pre-cut or cut-to-length seal from a hardware store, and replace it if it’s cracked, torn, or visibly compressed.
- Inspect and tighten visible fasteners. With the door closed, walk the perimeter and tighten any lag bolts or machine screws on the hinges, the track brackets, and the door frame. Don’t crank on them – just snug them. If a bolt turns freely and won’t hold, the problem is behind the bolt and needs to be evaluated.
- Vacuum the tracks. A shop vacuum with a crevice tool cleans grit, sand, and dead insects out of the tracks. In the desert, this is a monthly job, not an annual one.
- Wipe down the door panels. A soft cloth and a mild detergent or waterless wash keeps the finish in good shape, especially on steel and aluminum doors exposed to the sun.
These tasks take about 30 minutes total, do not require any special tools beyond a spray can, flashlight, and shop vacuum, and they’re the ones that actually matter for day-to-day reliability. If you want to see if your Goodyear door is one of the many we handle for maintenance-only visits, that’s a good use of a service call too.
What a Correction Call Actually Looks Like
The correction call is the unglamorous part of the DIY conversation, and it’s what we’d want a friend to know before they crack open the tutorial. When the do-it-yourself job doesn’t hold, the second visit usually takes longer and costs more than the original visit would have, and that’s before we’ve accounted for whatever the homeowner already spent on parts.
The correction call generally looks like this:
- We confirm what was attempted. Most homeowners are honest about what they did, and it’s actually useful, because we know which system to focus on.
- We check the safety system first. Auto-reverse, sensor alignment, and door balance. If a door has been worked on and one of those three is off, the door is going to either fail to close or fail to open – sometimes weeks later.
- We look at the components that were touched. If a spring was replaced, we check the spring rate and the winding. If a roller was swapped, we check alignment and track condition. If a panel was installed, we check the fit and the door’s overall balance.
- We check for damage caused by the intervention. A door that was off-balance for a few weeks may have worn a roller or put stress on the opener. We catch that before it becomes a separate failure.
- We reset the door. Balance, lubrication, safety test, and the operating force, so the door behaves the way it did before the DIY attempt.
The phrase we hear most often is “I figured I’d save a little.” Saving is a real goal and we don’t want to talk anyone out of it. The tasks on the safe-DIY list above are exactly where the savings live. The correction call is where the savings disappear. When the choice is between $40 in parts and 30 minutes of your time, versus a technician handled appointment that takes 45 minutes, the DIY answer is usually easy. When the choice is between a $60 part and a 5-hour project with a real injury risk, the DIY answer is usually no.
DIY vs Professional: A Real Cost Comparison
Any comparison of DIY and professional comes down to what you’re paying for, because the sticker prices don’t tell the full story. Here’s how the costs stack up by task category, using typical estimates for the Goodyear area. All prices are estimates – the written estimate is the price, and it’s quoted and agreed before any work starts.
- Basic maintenance (lubrication, inspection, sensor alignment): DIY is realistic and nearly free. A service call for the same work is typically $75-$150 in labor plus parts.
- Bottom seal replacement: A DIY seal costs $20-$50 in materials. A professional replacement typically runs $150-$250 installed.
- Roller replacement: DIY parts are $15-$40 for a set. A professional replacement is typically $150-$300 depending on the number of rollers.
- Opener installation: DIY is often possible on a compatible door, but the warranty question is the deciding factor. A professional installation typically runs $300-$550 for the labor portion, more if you’re upgrading to a smart opener.
- Torsion spring replacement (one spring): This is not a DIY task. Professional cost is typically $180-$340 per spring. A matched pair is usually replaced together, so call it roughly twice that for both.
- Cable replacement: Again, not DIY. Professional cost is typically $200-$400 depending on the cable and the door.
- Panel replacement: DIY is possible if the exact panel is available, but the risk is visible misalignment. Professional cost is typically $300-$700 depending on the door style and the panel.
- Full door replacement: Definitely professional, and often governed by HOA documentation rules. Cost is quoted per job after a measure.
The clear split is between maintenance and mechanical repair. Anything in the maintenance part of the list, you can do. Anything that involves springs or cables, don’t. And when it comes to the middle tier – openers, panels – the answer depends on your warranty, your HOA, and your honest assessment of your own comfort with the specific job.
Common Mistakes to Avoid
- Attempting spring or cable work because a tutorial made it look easy. The tutorial was filmed by someone who has done it dozens of times and taken the safety shortcuts that come with experience. You haven’t.
- Working in a garage over 100°F without water or ventilation. Heat stress impairs judgment and coordination right when you need both. In Goodyear, that means mornings, not afternoons.
- Assuming the opener will pick up the slack of an out-of-balance door. A properly balanced door should hold itself halfway up with the opener disconnected. If it doesn’t, the opener is working harder than it should, and the fix is balance, not a bigger motor.
- Replacing a door without checking HOA documentation requirements first. Many Goodyear HOAs want contractor documentation for exterior modifications. Order the door second, not first.
- Buying the cheapest opener and skipping the warranty terms. Some brands and models are warrantied only when installed by a certified dealer. Five minutes of reading saves a voided warranty.
- Overspraying lubricant on a hot day. Lubricant migrates and traps dust. Use a garage-door-specific product, apply sparingly, and wipe up drips while the door is cool.
- Trying to fix a door that’s off track by forcing it back in by hand. A door that’s off track can drop without warning. Stop, secure it, and call for help.
See the difference
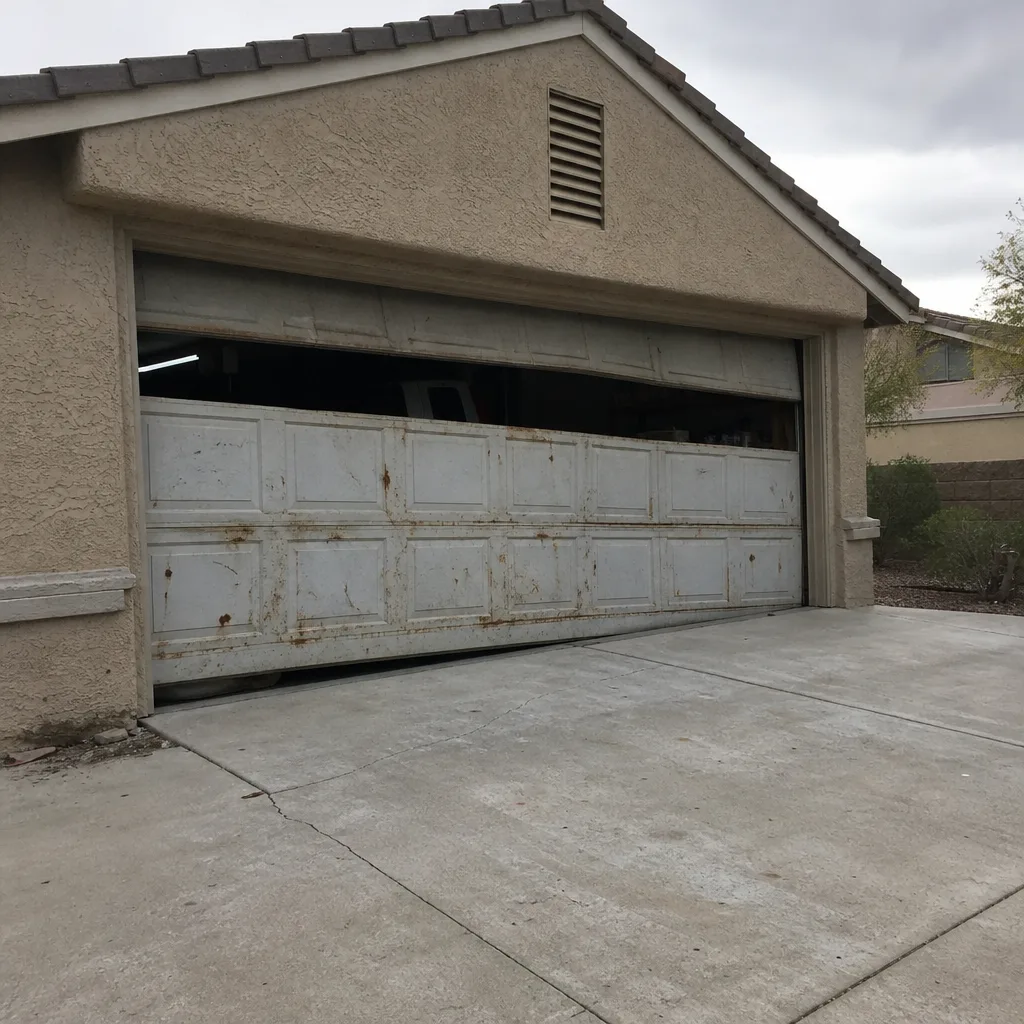 Before
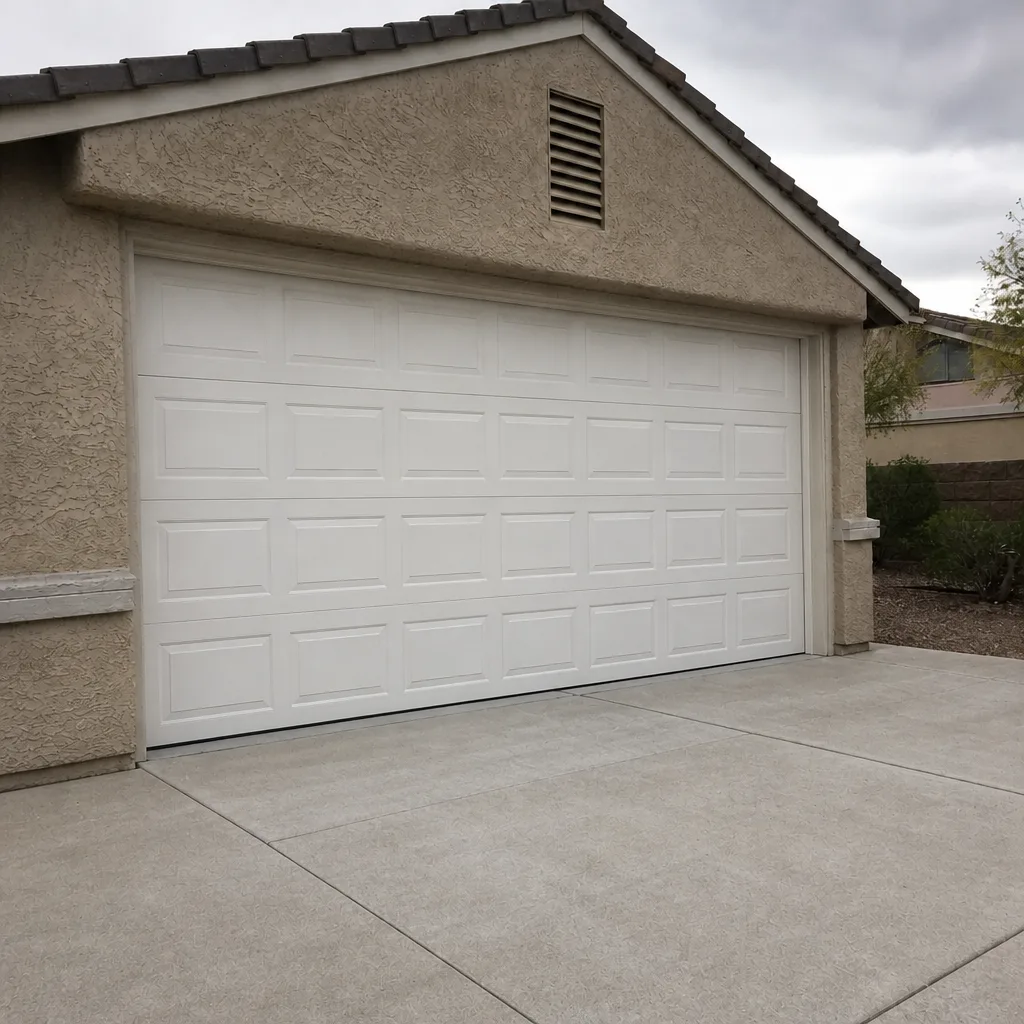 After
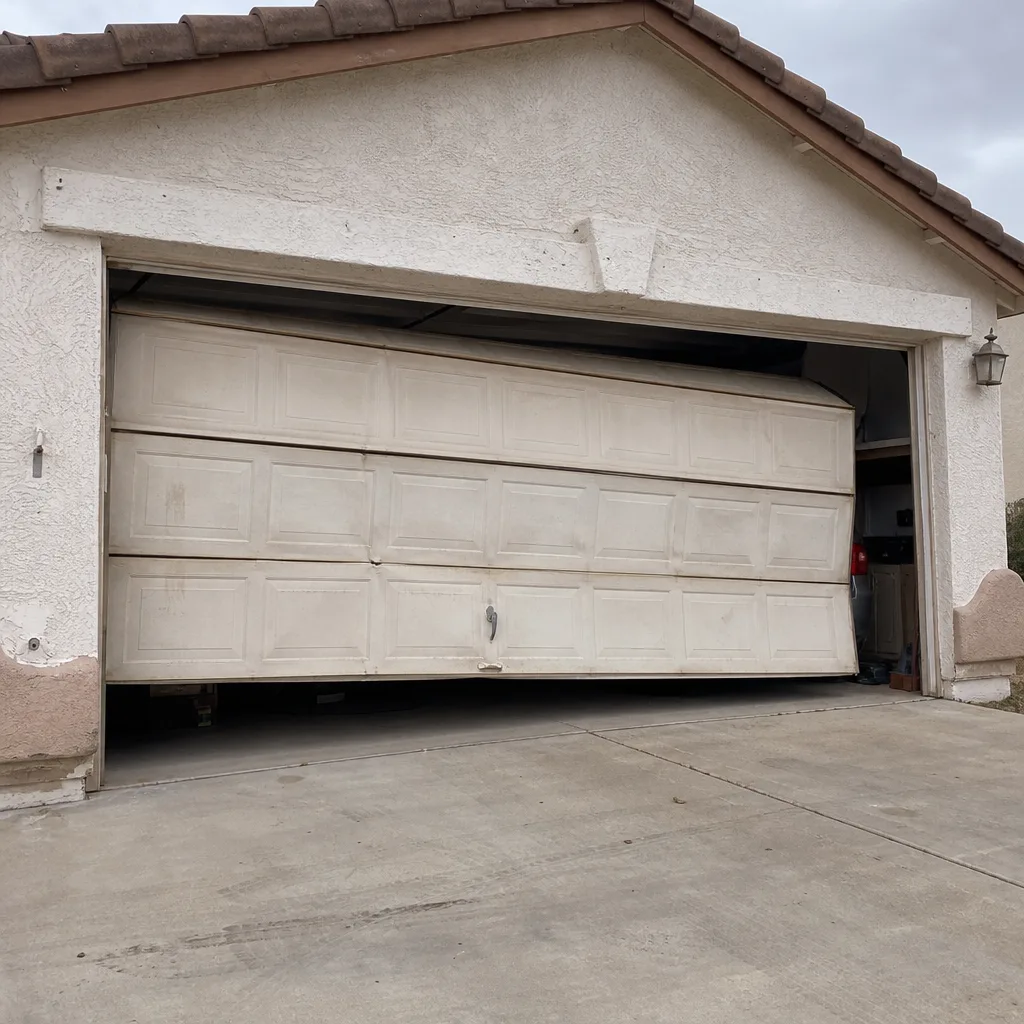 Before
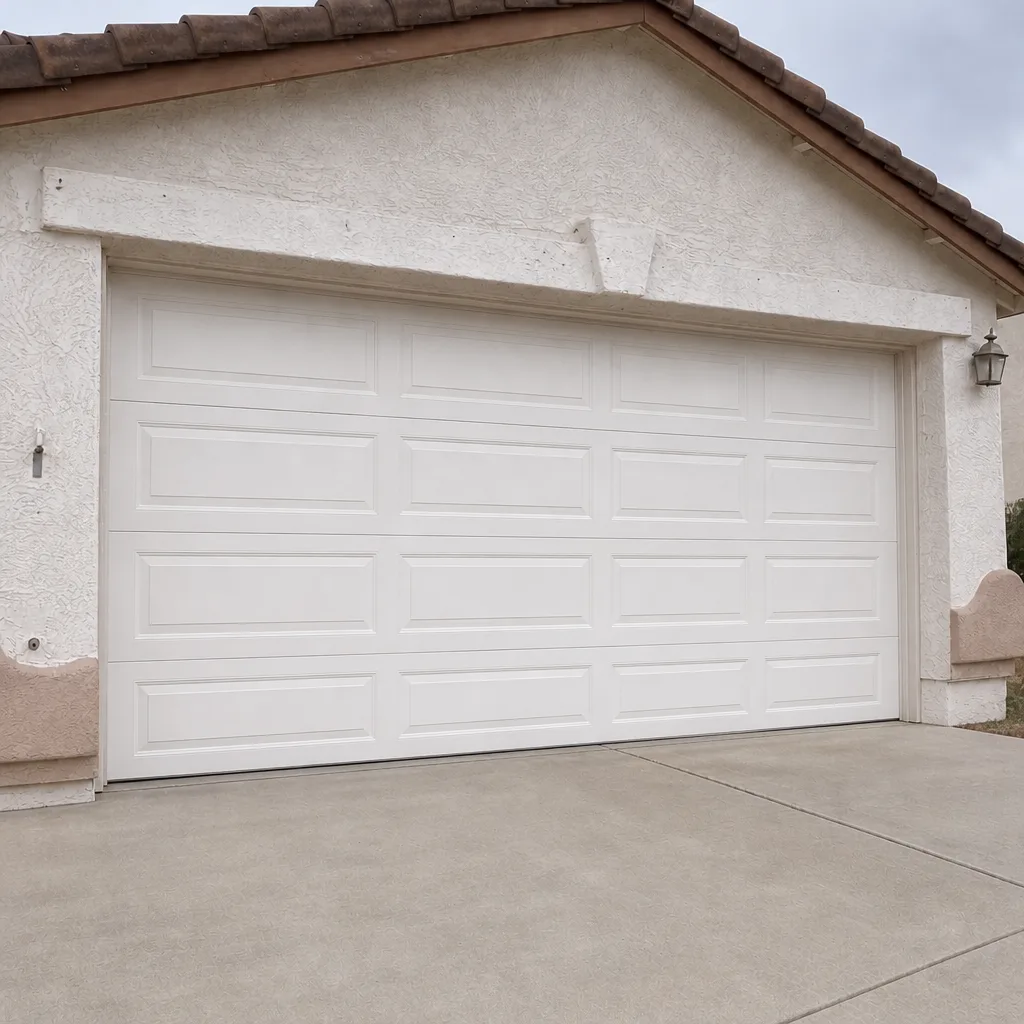 After
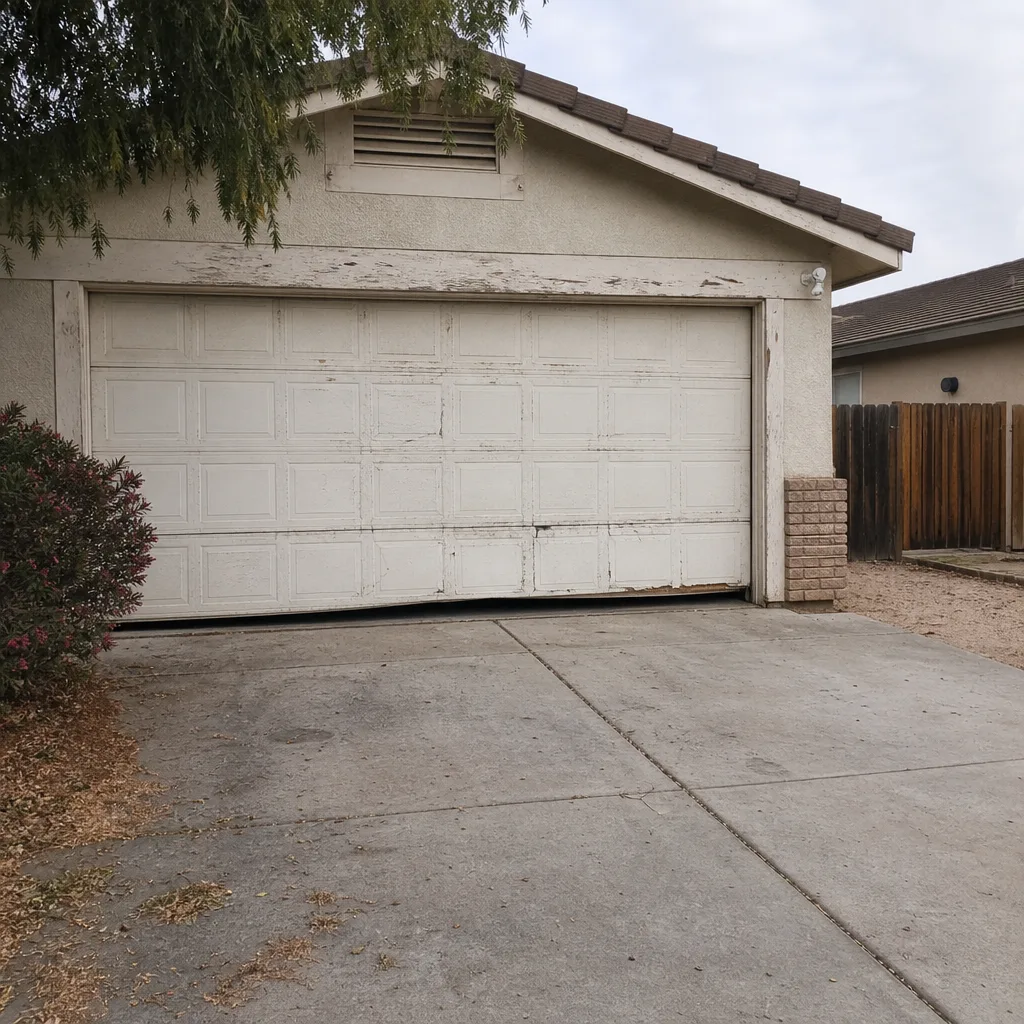 Before
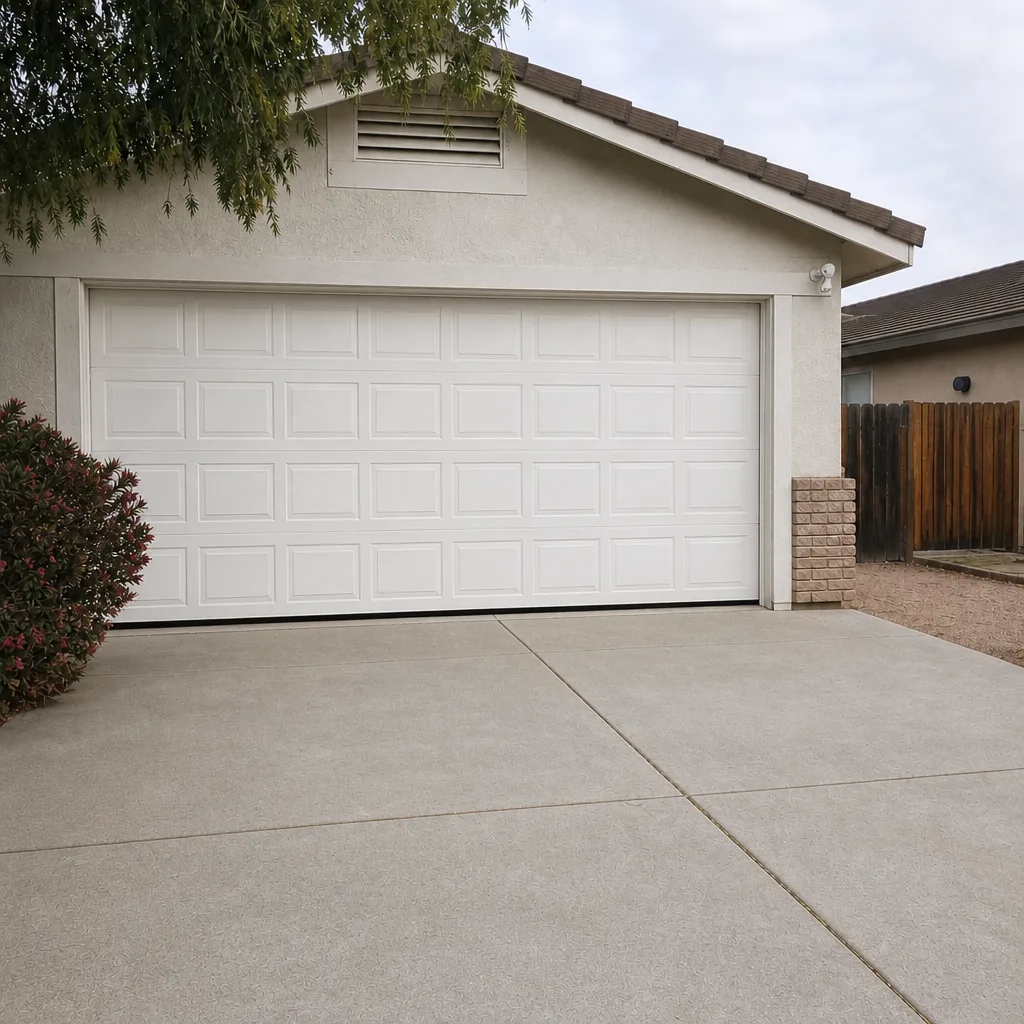 After
When to Call a Professional
If the task involves a torsion spring, an extension spring, a cable, or a door that’s fallen out of its track, stop. Those are the four that carry a real injury risk and a real chance of doing more damage than the original failure. Structural header or frame issues are the fifth – a wall mount that’s pulled loose usually signals a problem behind the wall, and the fix isn’t a longer lag bolt. And any time your HOA, your warranty, or your own common sense tells you the job needs a licensed contractor, it’s a professional call.
Mariner Garage Door Repair offers free estimates in Goodyear – call (844) 834-1797. We answer 24/7. Fast dispatch from 7am to 7pm, Sunday through Friday. Our technicians have up to 11 years of experience with residential garage door systems from the major brands, including LiftMaster, Chamberlain, Genie, Clopay, Amarr, Wayne Dalton, Craftsman, and Raynor, and we’ll tell you straight whether the job is one you can handle yourself. If it is, we’ll say so.
Frequently Asked Questions
No. Torsion and extension springs store enough energy to cause severe injury when released, and there’s no safe way to work with a wound spring without the right tools and training. A trained technician is the only safe option for spring work, and in Goodyear the combination of high heat and the tight quarters of a residential garage makes a DIY attempt riskier than it looks. Call (844) 834-1797 for a free estimate – estimates are free and quoted before any work starts.
That depends on the opener brand and model. Some openers, including certain LiftMaster and Chamberlain systems, are commonly sold through professional channels and are warrantied only when installed by a certified or qualified dealer. Others, including many Genie and Craftsman models, are available at retail and their warranty terms vary. Read the warranty terms before you buy – if the manufacturer requires professional installation, DIY installation voids the coverage.
It affects both your safety and the door’s behavior. A closed garage can reach 130°F or more inside in summer, which causes heat stress within minutes and impairs judgment. Steel panels expand in the heat, so adjustments made in a hot garage may not hold once the door cools. Work early, keep both the garage door and any rear door open for airflow, and drink water. If the job is longer than 20 minutes, split it across two cool mornings.
It depends on your HOA. Many Goodyear HOAs that manage exterior modifications require an architectural approval before a garage door replacement, and those approvals often ask for documented installation by a licensed contractor. Check your HOA’s architectural rules and ask the property manager what documentation they need before you order the door. If your HOA requires licensed documentation, the installation needs a professional.
No. The written estimate is the price. We quote and agree on the price before any work starts, and the technician won’t add anything to the estimate after the job begins. If the scope changes because of something we couldn’t see until we were on site, we stop and talk to you before we do any extra work. Call (844) 834-1797 for an exact quote – estimates are free.
The most common one is attempting spring or cable work after watching a tutorial. The second most common is installing an opener and then not being able to get the sensors aligned, so the door reverses on every close. The third is replacing a bottom seal with the wrong width, which then won’t seal and defeats the purpose. All three are fixable, but the fix costs more than a professional visit on the original job would have.
The Bottom Line
The DIY-versus-pro decision for a garage door comes down to which tasks carry a real consequence for a mistake. Lubrication, sensor alignment, weatherstripping, and a balance check are all safe, cheap, and worth doing yourself. Springs, cables, structural framing, and out-of-track doors are the ones that cause injuries and open correction calls. Opener installs and panel work belong in the middle, and the deciding factors are your warranty, your HOA documentation rules, and your honest read on your own comfort with the specific job. If you’re still uncertain, call us and we’ll tell you where your task falls. Our technicians have up to 11 years of experience and we work on the major brands, including Craftsman, LiftMaster, and Chamberlain, so the answer you get won’t be a sales pitch. Mariner Garage Door Repair offers free estimates in Goodyear – call (844) 834-1797. We answer 24/7. Fast dispatch from 7am to 7pm, Sunday through Friday.
For more on our full range of services and how we approach each job, visit Mariner Garage Door Repair.
Written by the team at Mariner Garage Door Repair.